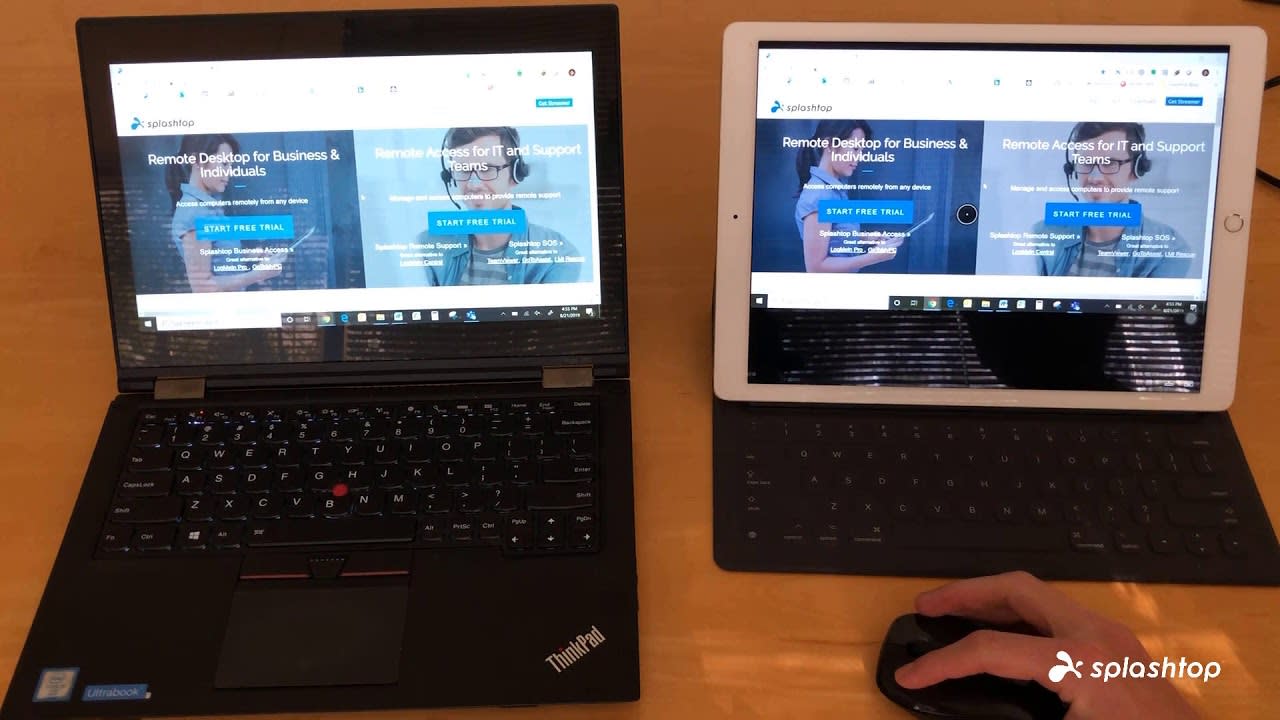
With iOS 13 introducing mouse support, you can control your remote desktop with a mouse when remote connecting from an iPad or iPhone iOS device.
Working remotely from your iPad and iPhone just got a lot easier.
Splashtop enables remote access to Windows and Mac computers from iOS devices. With the Splashtop iOS app, you can remote into your computer and view the screen in real-time on your iPad or iPhone. You can remotely control the computer, open files, and more using the iOS touch-based interface.
But now with iOS 13 making it possible to use a mouse with iPhones and iPads, you can control your remote desktop with a mouse when remoting from your iOS device!
How to Use iOS Mouse Support to Control Your Remote Computer

All you need to do is set up your Bluetooth or wired mouse to your iPad or iPhone (see below for instructions) and you’ll be all set! You won’t need to adjust any settings in the Splashtop app to use the mouse while in app.
As demonstrated in the video above, it’s important to remember that the mouse support feature in the iOS 13 update is meant to mimic the iOS touch based interface. This means that when using a mouse while remoting from an iOS device to a computer, you have to use it the same way you would use your fingers to control the screen.
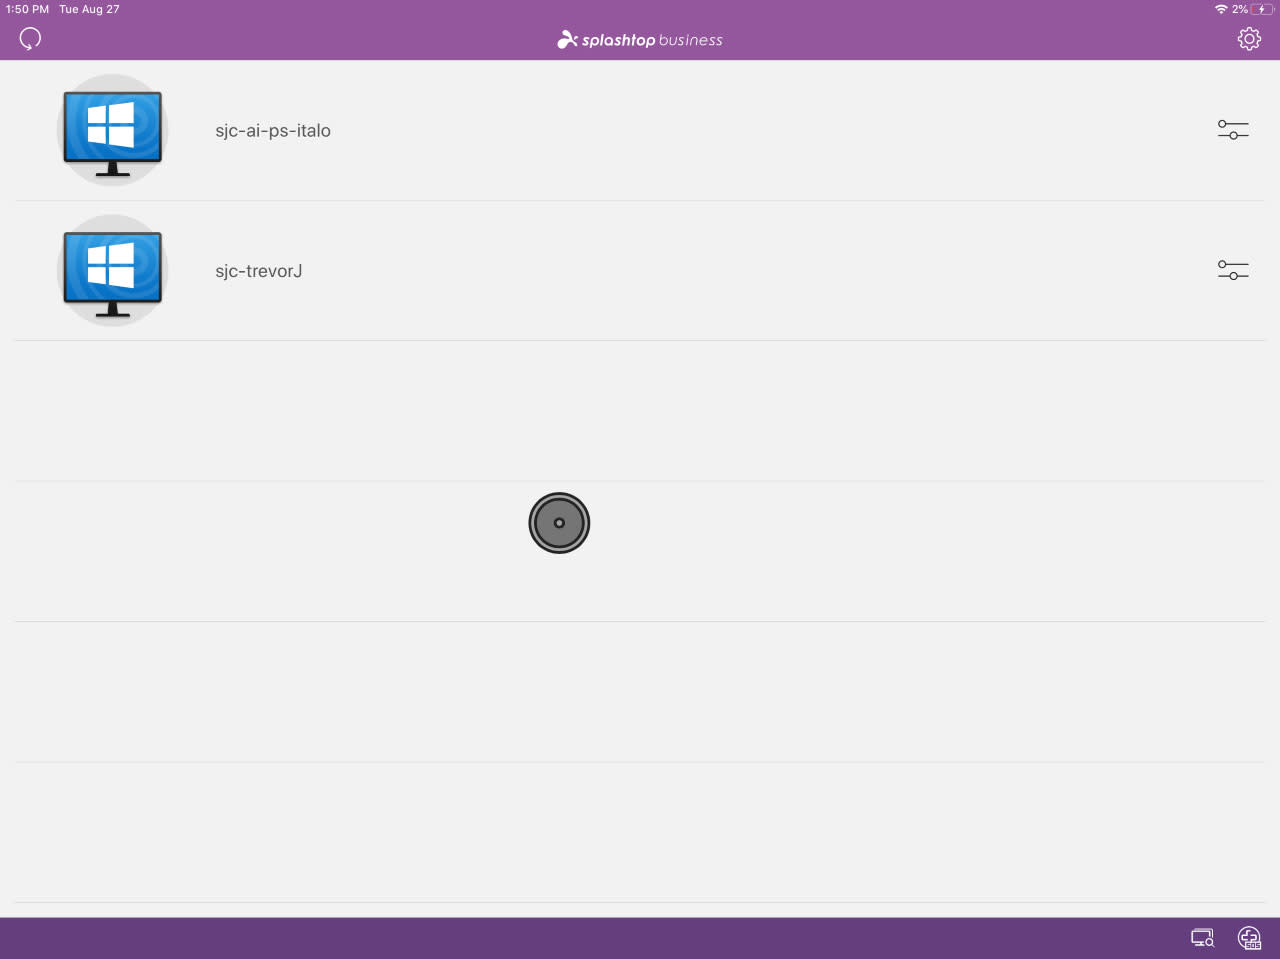
Clicking represents a touch. To connect to your remote computer, open the Splashtop app and simply click the computer you want to connect to.

Holding down a click is like holding your finger down on the device screen. To scroll on an iOS device, you would need to hold your finger on the screen and move it up and down. So, when remoting into your computer, click and hold the mouse and then move the cursor up and down to scroll.
If you’re already familiar with the iOS interface, then this should be very easy to pick up. If not, it’s a quick learning curve. In no time you’ll feel more in control of your computer when accessing it from an iPhone or iPad!
Want to give it a try for yourself? Get started with Splashtop for free with our free trial below to get unlimited remote access to your Windows and Mac computers from your iOS (or practically any other) device!
How to Set Up Mouse Support on iPad or iPhone
To connect your mouse to your iPad or iPhone, follow the steps below:
Set Up Bluetooth Mouse to iPad or iPhone
Open the Settings app
Select Accessibility
Select Touch
Select the AssistiveTouch toggle – this will open a new menu
Select the AssistiveTouch toggle at the top to turn it on
In the same menu, select Pointing Devices
Select Bluetooth Devices
Set your Bluetooth mouse to pairing mode. You should see a prompt to pair your mouse. Select
Pair
Your mouse should now be connected! You’ll see the circular cursor on screen once connected.
Set Up Wired Mouse to iPad or iPhone
Follow instructions 1-5 above to make sure AssistiveTouch is turned on. After that, all you need to do is plug in your mouse and it should start working!
Edit Mouse Settings on iPad or iPhone
Once your Bluetooth or wired mouse is connected to your iOS device, you can customize a few of its settings from within the AssistiveTouch menu. You can edit the tracking speed, edit cursor size and color, and more.
You can also select Pointing Devices and then select your mouse to customize the mouse buttons. For example, you can set the right click to be the home button.
Get Started with Splashtop: Remotely Access Your Computers From Any Device
With Splashtop Business Access, you can remotely access your Windows and Mac computers from an unlimited number of Windows, Mac, iOS, Android, and Chromebook devices. You’ll get unlimited remote access to your computers at any time, from anywhere in the world.
You’ll also get fast connections with HD quality and sound and see your remote computer screen in real time. All remote desktop connections are secure and encrypted.
Find out why 30 million people use Splashtop remote desktop software and try it out for yourself today! Get started with our Splashtop free trial and use a mouse to control your computer from your iPad or iPhone device!


